Oct 06, 2023 · 20 mins read
Setting Up S3 Bucket | File Upload using AWS S3, Node.js and React - Part 1
Setting up S3 bucket and allowing public read access on a prefix URLUmakant Vashishtha

Secure File Upload using AWS S3, Node.js and React using Signed URLs
Table of Contents
- What is Static Content?
- Let’s setup S3 and understand what S3 is?
- Why should we use S3?
- Creating S3 Bucket
- Updating Policy for Public Read Access on a prefix URL
- Updating CORS policy
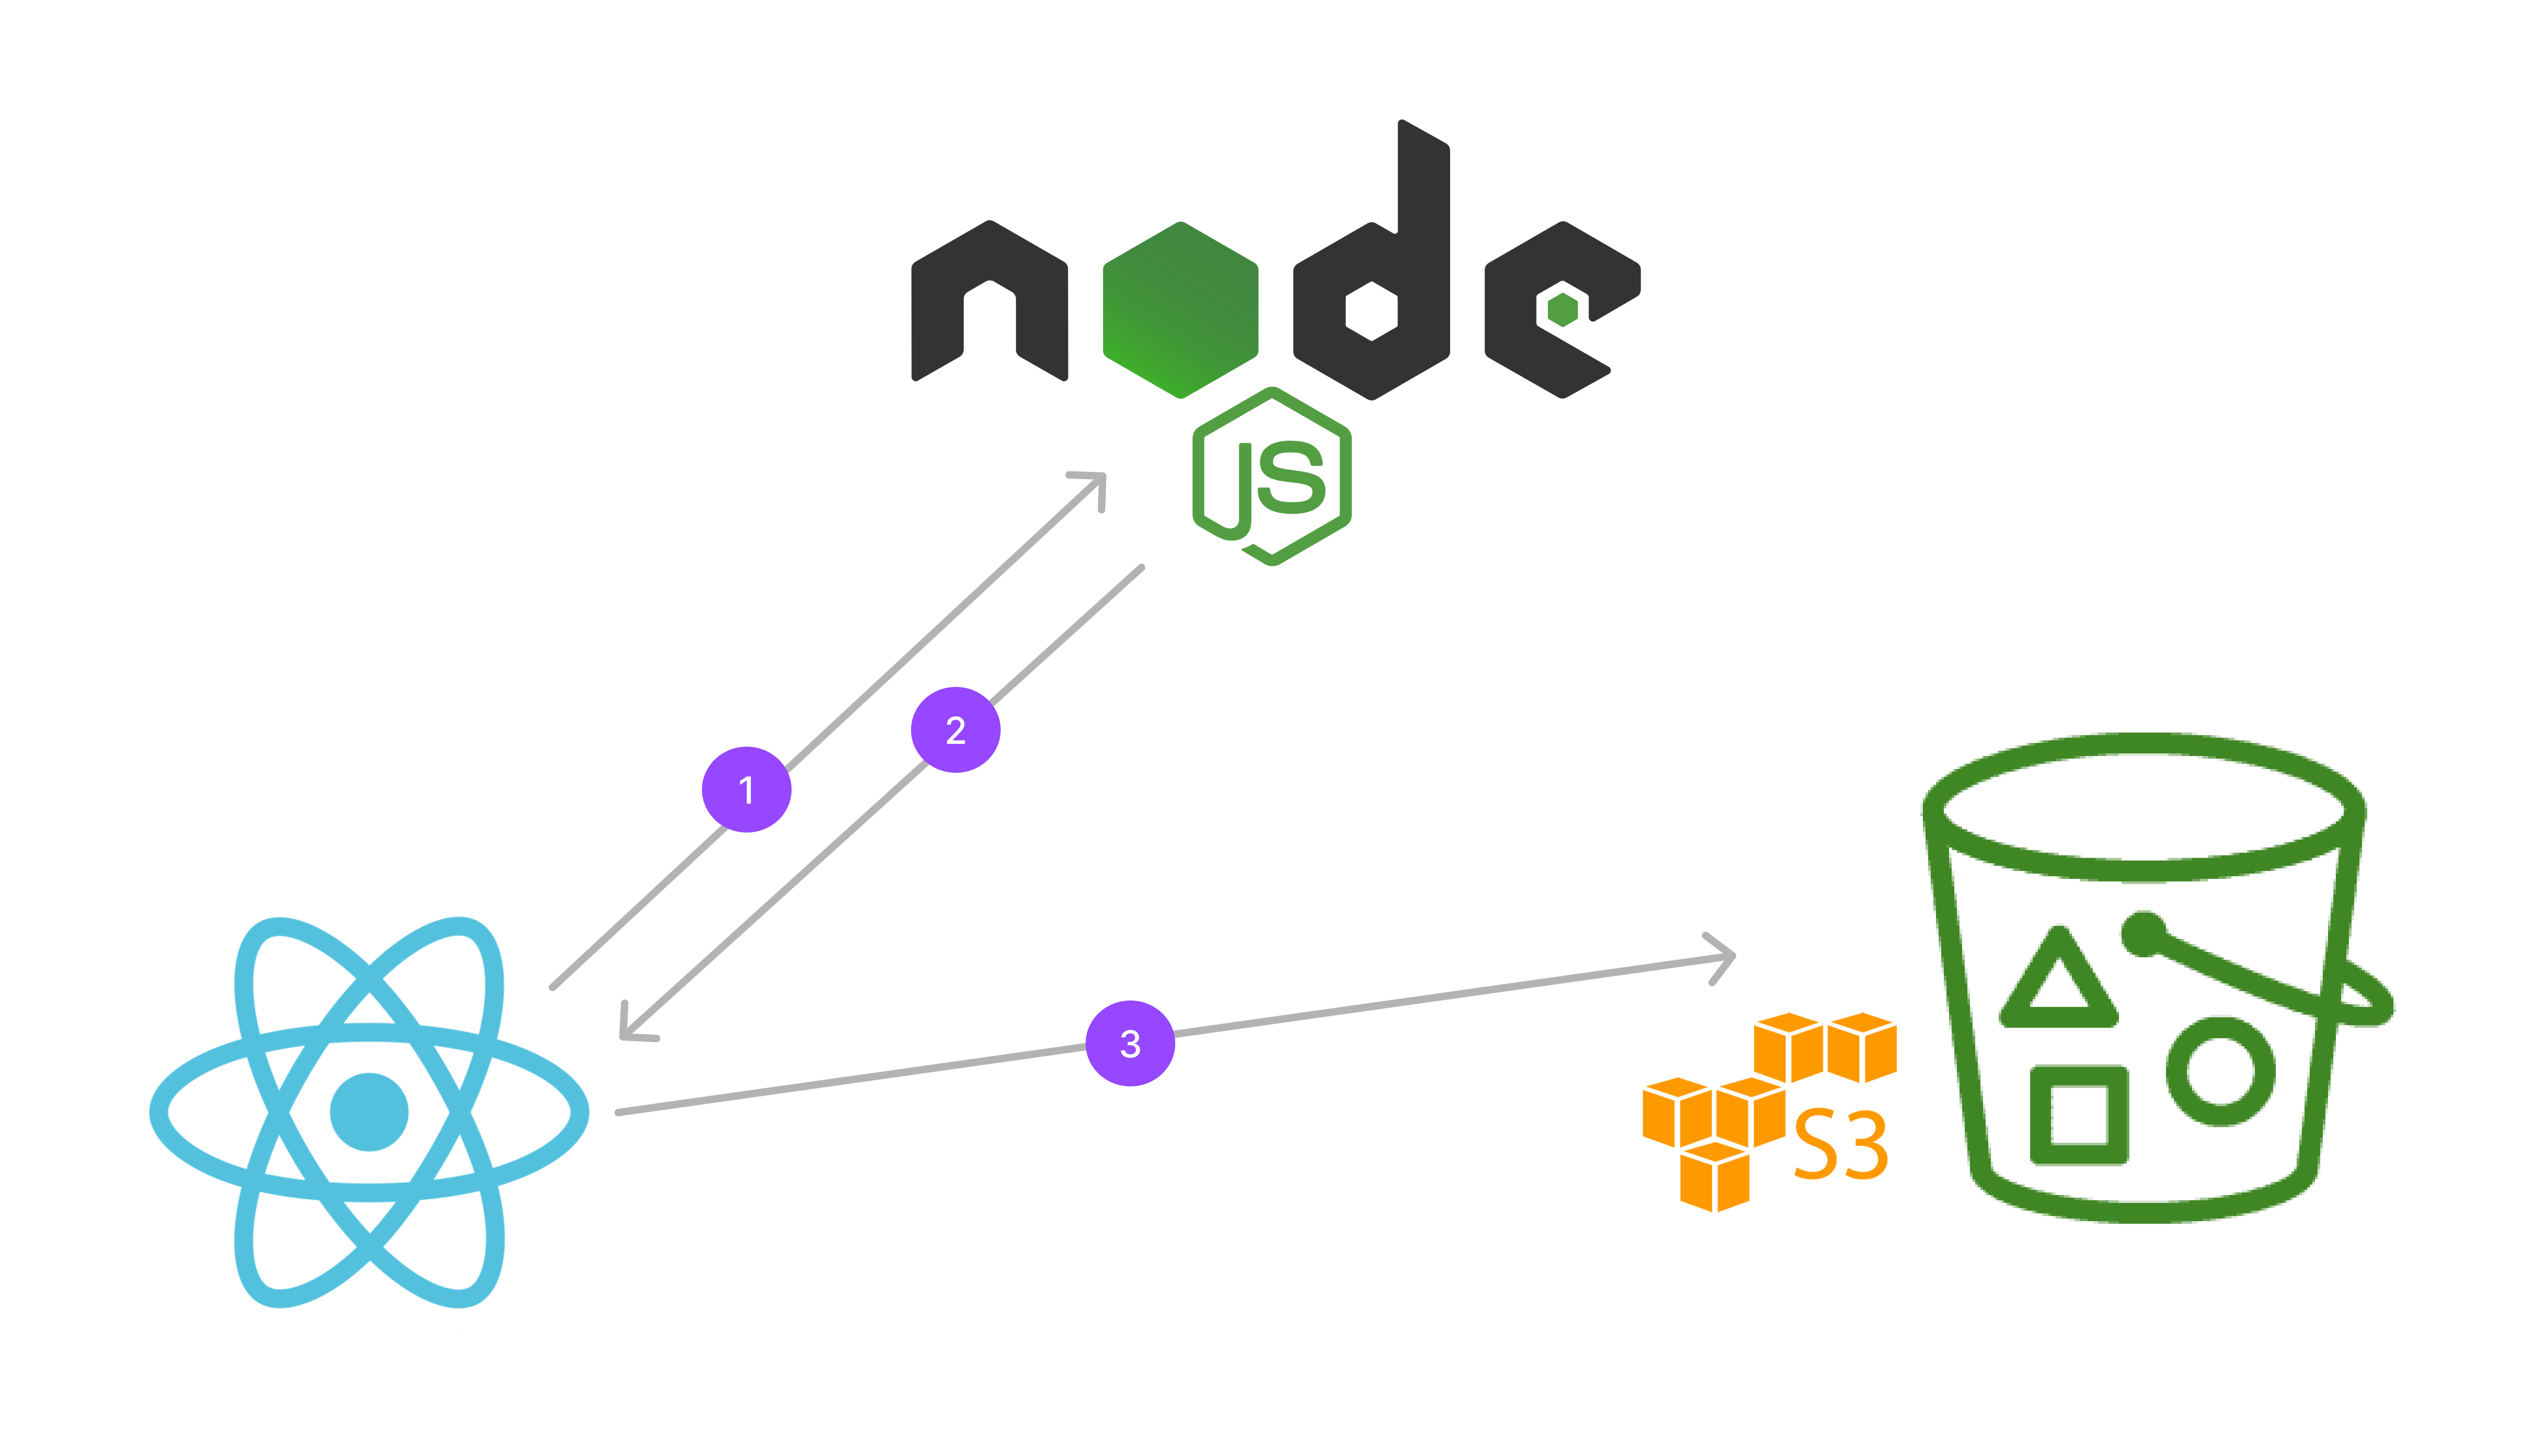
In this three parts series, I will show you how to add secure file upload feature in your application using AWS S3, Node.js and React with Signed URLs.
In this part, we will look at setting up S3 bucket and allowing public read access on a prefix URL
If you prefer video tutorials, here is the series on YouTube.
What is Static Content
Images, PDFs, Audios, Videos, etc are all static content that don’t change often. They are stored on a file server and served through a unique URL.
Example: https://yt-file-upload-tutorial.s3.ap-south-1.amazonaws.com/public/test/image/profile.png
Uploading files is very important feature in most of the applications and we need disk space to store these files. Our users upload files on our application like profile picture, documents, etc., we have to store these somewhere and they should be accessible by a URL.
Let’s setup S3 and understand what S3 does
S3 (Simple Storage Service) is a static file storage and server provided by AWS cloud provider, and we will use it to store and serve our application’s static content. S3 has buckets in while files are arranged in different directories.
Why we should use S3
- S3 is performant and fast
- It is reliable
- It provides secure way to upload files and we can control which files are public and where the files can be uploaded from
- It is cheaper than building and maintaining our own file server
AWS gives you 12 months of free-tier when you sign-up and S3 provides 5GB storage free under Free-Tier.
Creating S3 Bucket
Let’s create an S3 bucket and upload some files to it and then we will try to access those files by a URL.
- Go to S3 Dashboard and open Buckets page.
- Click Create Bucket and add a name.
- Under Block Public Access settings for this bucket settings, select allow public access.
- Submit the form to create the bucket.
Upload a sample file
- Create a folder and name it
public. - Inside the
publicfolder, upload any file, preferably an image file. - Click on the file name to see the properties.
Sample File: https://yt-file-upload-tutorial.s3.ap-south-1.amazonaws.com/public/profile.png
Some of the properties for this file are:
Base Path: https://yt-file-upload-tutorial.s3.ap-south-1.amazonaws.com
key: public/images/profile/34534534.png
Metadata:
Content-Type: image/png
S3 buckets can have both private and public files, so we can control which files are publicly accessible.
If you try to open this image in a browser using the complete path, it won’t be accessible because it’s not allowed for public read. So let’s change that setting.
Updating Policy for Public Read Access on a prefix URL
- Go to bucket home page and open the Permissions tab.
Inside that, under the Edit Bucket Policy section, edit the setting to allow public read for files in
publicfolder using the below JSON setting. MAKE SURE to use your bucket name.
S3 Bucket GetObject Policy{
  "Version": "2012-10-17",
  "Statement": [
    {
      "Sid": "AddPerm",
      "Effect": "Allow",
      "Principal": "*",
      "Action": "s3:GetObject",
      "Resource": "arn:aws:s3:::YOUR_BUCKET_NAME/public/*"
    }
  ]
}
The above can be found in the documentation here: https://repost.aws/knowledge-center/read-access-objects-s3-bucket
Updating CORS policy
We will need to do a bit more setup to update CORS policy to allow uploads from certain domains.
To do that, again head over to the permissions tab and then under Cross-Origin Resource Sharing section, edit the setting using the following json properties. You can add any number of domains to allow GET and PUT requests.
S3 Bucket CORS Policy[
  {
    "AllowedHeaders": ["*"],
    "AllowedMethods": ["PUT"],
    "AllowedOrigins": ["http://localhost:3000"],
    "ExposeHeaders": []
  },
  {
    "AllowedHeaders": ["*"],
    "AllowedMethods": ["GET"],
    "AllowedOrigins": ["*"],
    "ExposeHeaders": []
  }
]
In the next part, I will show how to create secure Signed URLs from the node.js back-end application using the security credentials to allow file uploads from our font-end application.
Thank you for reading, please subscribe if you liked the video, I will share more such in-depth content related to full-stack development.
Happy learning. :)
Similar Articles

Using Signed URLs in React | File Upload using AWS S3, Node.js and React - Part 3
Building the react application to upload files directly to AWS S3 using Signed URLs generated from our node.js application.
Oct 15, 2023 · 15 mins

Setting Up Node.js App | File Upload using AWS S3, Node.js and React - Part 2
Setting up Node.js application and use AWS SDK to generate S3 Signed URL using AWS access credentials that will be used in our react application to upload files directly.
Oct 07, 2023 · 20 mins

Clustering - Run Multiple Instances of Node.js Application
Improving Node.js Application Performance With Clustering
May 05, 2023 · 25 mins
